
RKTracer Windows Installation
To install the RKTracer code coverage tool on your windows machine, you need to download the RKTracer Installer and the free trial license.
When you download the RKTracer, you receive two files. The first one is the Installer file, and the second one is the trial license file. Right-click on the RKTracer Installer and click on the open.
When you open the RKTracer, you will see the screen. Just click on the more information option and click Run anyway. Now you will see user access control pop-up press yes.
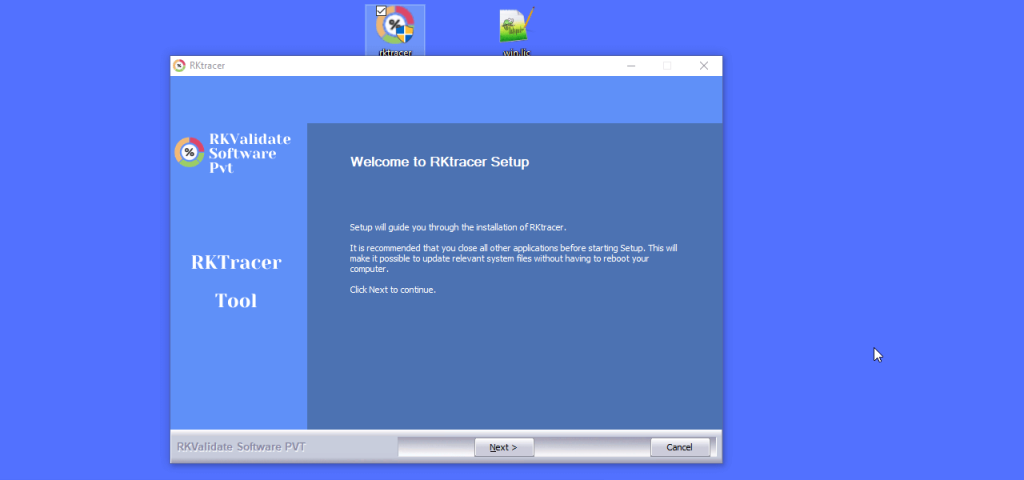
Now you will see the RKTrace Installer on your pc. Click next
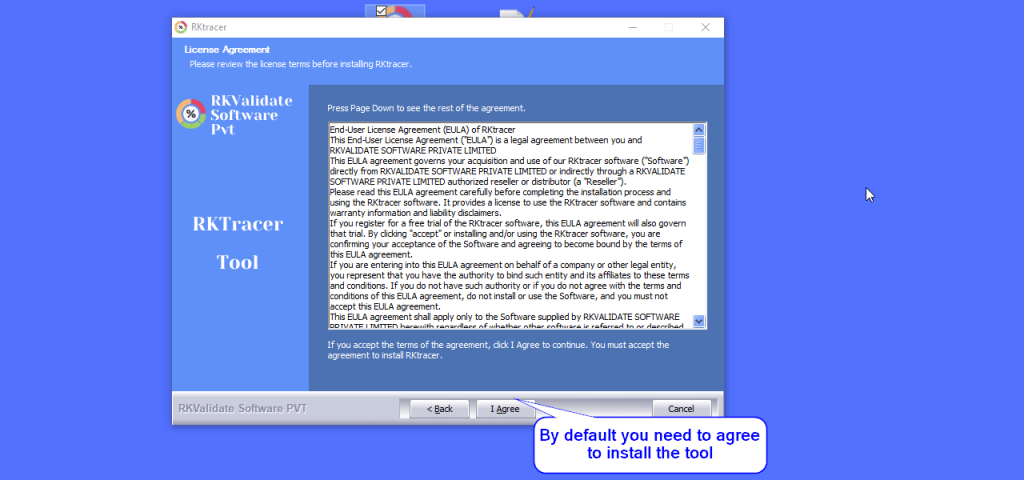
And you will see the agreement section of RKTracer installer. Press “I Agree” to option to continue the installation.
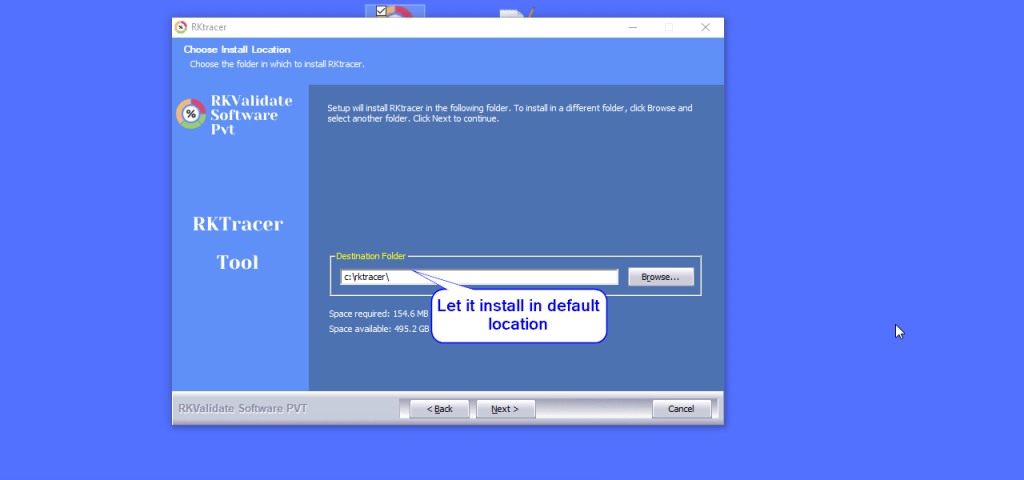
Now you can see the file location of the RKTracer. Do not change the file location of RKTracer and click the next button.
Follow the installation instructions and the RKTracer is successfully installed on your windows machine. Click the Finish button.

License setup
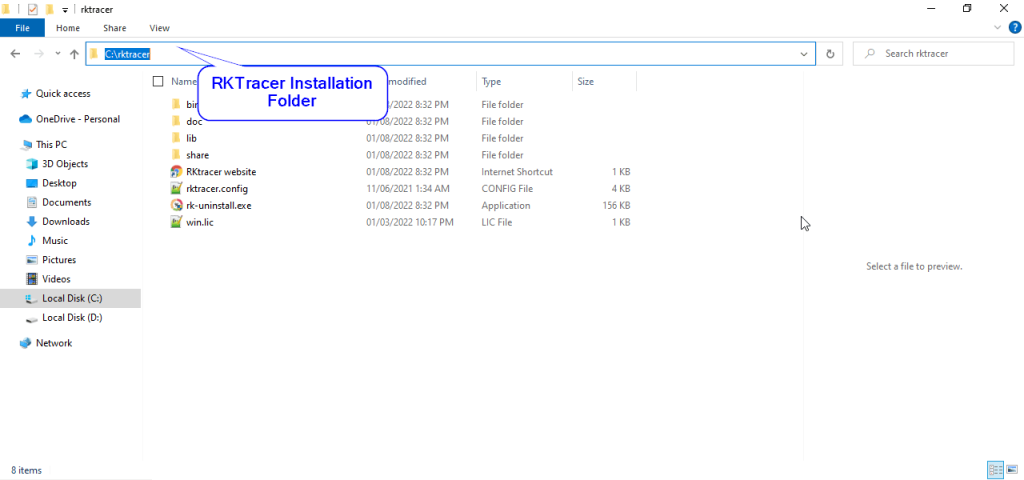
To setup rktracer license, you need copy RKTracer license file to rktracer installation folder.
Open command prompt and run command “rktracer -version” and you will see the message. This is licensed to rkvalidate software private limited.

Above message represents that you successfully configured the RKTracer license on your windows machine